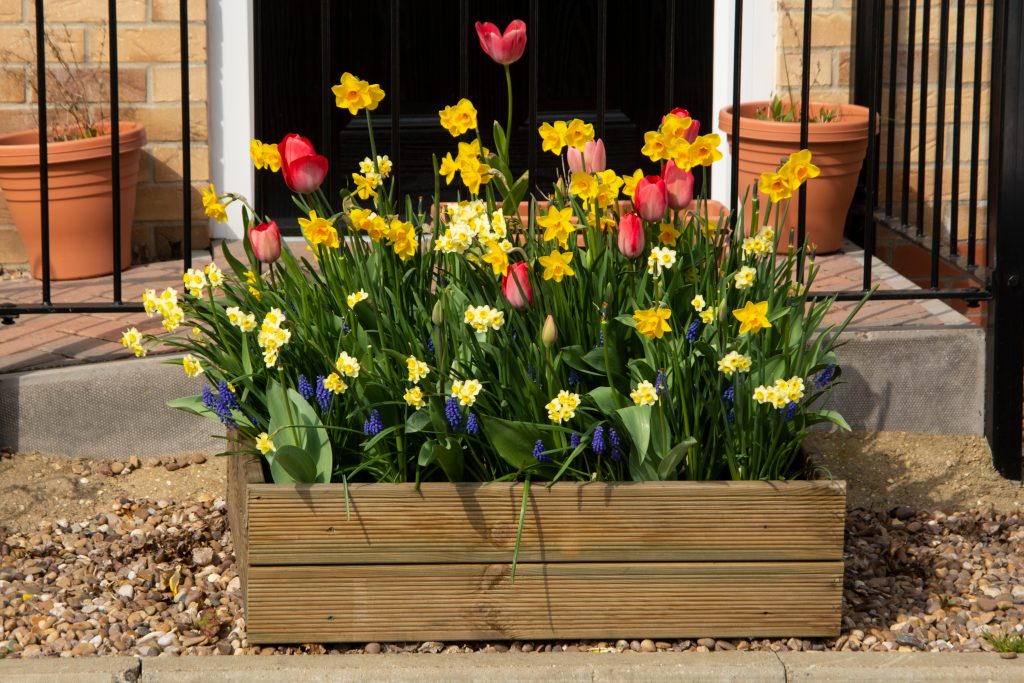
Decided your garden needs an upgrade? Garden Planters are an excellent idea! They look really sophisticated and can be planted with a wide variety of flowers, herbs or bushes. You can buy them – but they are also straightforward to make.
This is a great DIY project. You will get the perfect design to match your outdoor space.
Things you will need:
- Wooden planks
- Screws
- Tape Measure and pencil
- Weatherproof Paint (if using)
- Plastic sheet or old compost bags
- A Saw, drill and hammer!
1. Pick the Shape and Size
We always recommend measuring up the space and creating a sketch diagram of where you want your planters to go. This ensures you are creating the right shape, size and quantity for your garden.
Once you have fixed the dimensions you can purchase the right size wood for the job.
2. Buy the right wood
Cedar wood and redwood are good options as they are easy to work with and rot resistant!
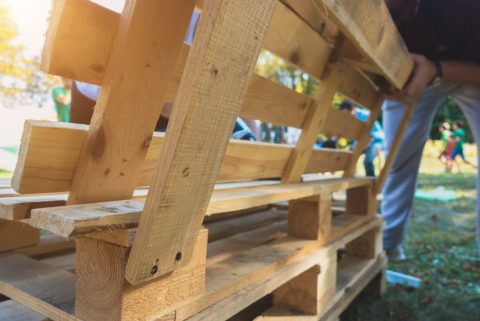
If you don’t want to purchase wood, you can also upcycle – left over pieces of decking, fences and wooden crates can also be used for your planter.
3. Mark and Cut
Measure up and cut all your wood to the right size – cutting the ends as squarely as possible for a smooth finish. Lay all the pieces of wood on the floor to make your shape to confirm they all work together.
You will then need to drill ‘pilot’ holes on the end of each length of wood – these will stop the screws from splitting the wood when you attach your boards together.
4. Fasten the boards together
Use galvanised screws so they withstand the elements. Then simply drill all the sides together to create your planter box.
If you are using your planter on grass or soil, then you will just need the frame. If you are placing it on decking, it is best to add a base to the box. Measure out the wood to fit the base (either one sheet, or join several pieces side-by-side) and fix this in place.
Next step is to sand all the edges to make a neat finish.
5. Create drainage
If you have added a base to your planter, it is then a good idea to line the base with plastic. Old compost bags fixed with nails will do the trick.
Next up you will need to drill several holes across the bottom to act as drainage for your plants. This is essential! Without proper drainage your plants will not thrive.
6. The Finishing Touches
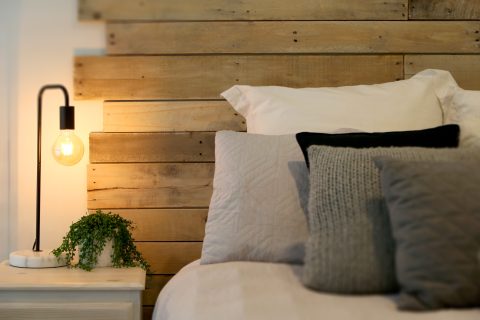
Now your planter box is made up – time to style it as you wish. Do you want to leave it rustic wood, or add some colour paint. The choice is yours!
The final step is to fill it with compost and add the plants of your choice.
Then sit back and enjoy.

Leave a Reply